
TestNG Framework in Selenium - Benefits
Tarit Ray
Jul 27, 2021
Selenium users have started using the TestNG framework widely because of its advantages over JUnit. Many shortcomings of JUnit are overcome in TestNG, designed to make end-to-end testing easy. 'NG' in TestNG stands for "Next Generation." It uses the annotations inspired by JUnit and provides the best solutions like sequencing, grouping, and parametrizing tests.
You quickly learn about the test results - in short, which test case got passed, failed, or skipped and how much time it took to execute. It even generates a comprehensive report for the same in HTML view. In short - Using TestNG in Selenium gives you the ability to generate test results in a proper and easy-to-understand format.
Critical features of Selenium TestNG are:
- Generate the report properly, including the number of test case runs and the number of test cases passed, failed, and skipped.
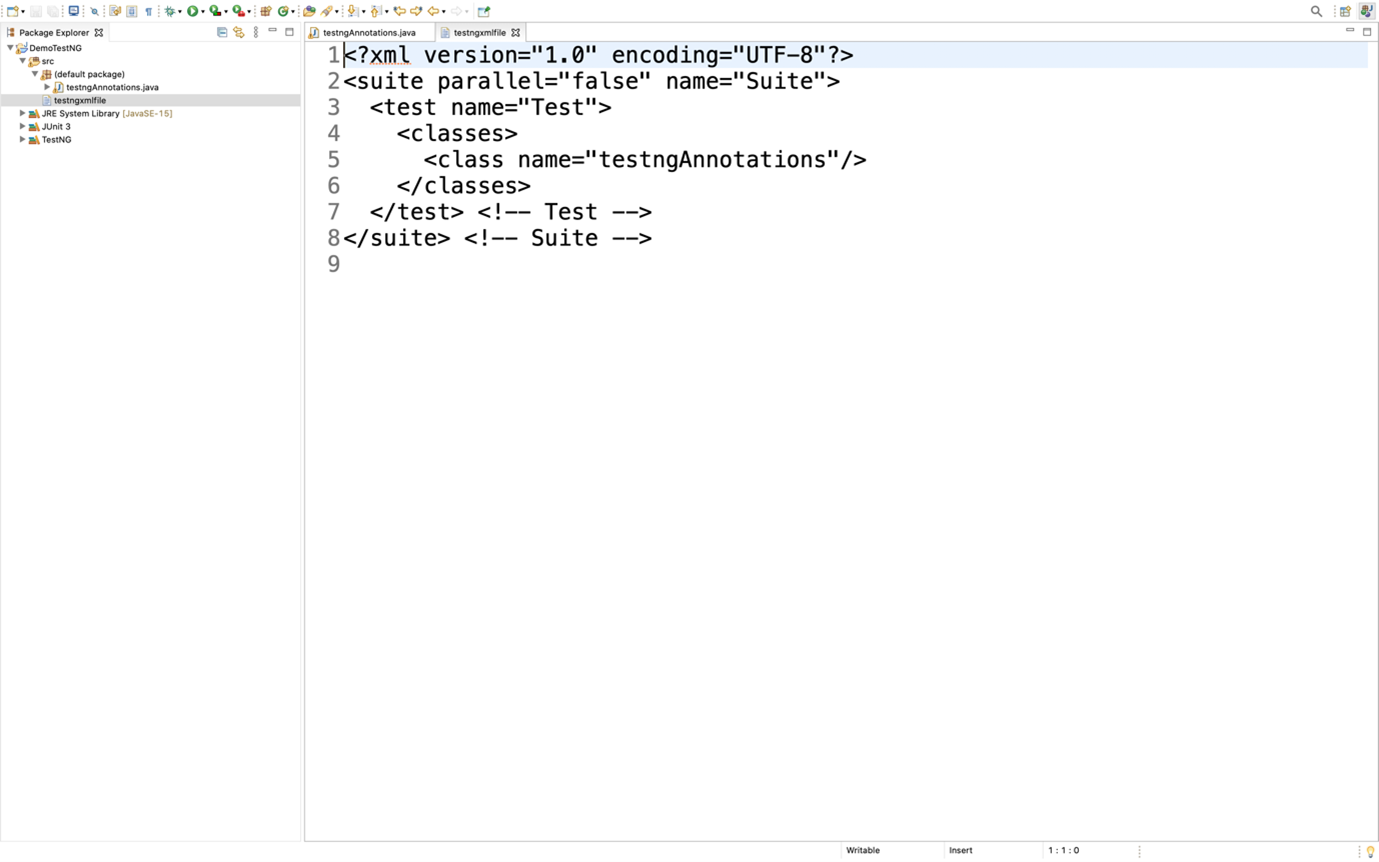
- You can add multiple test cases, map them in the testng.xml file, and use the group-by feature. You can make priorities on which test case to execute first using its annotations.
- By using a keyword called 'invocation count,' you can execute the same test case multiple times without loops.
- Using TestNG, you can execute multiple test cases on multiple browsers, i.e., cross-browser testing.
- The TestNG framework can be easily integrated with tools like TestNG Maven, Jenkins, etc.
- TestNG provides many easy annotations, e.g., @BeforeMethod, @AfterMethod, @BeforeTest, @AfterTest, etc.
- For generating reports, WebDriver has no native mechanism. You can find such reports in TestNG. These reports can be sent to others over email and are easily readable.
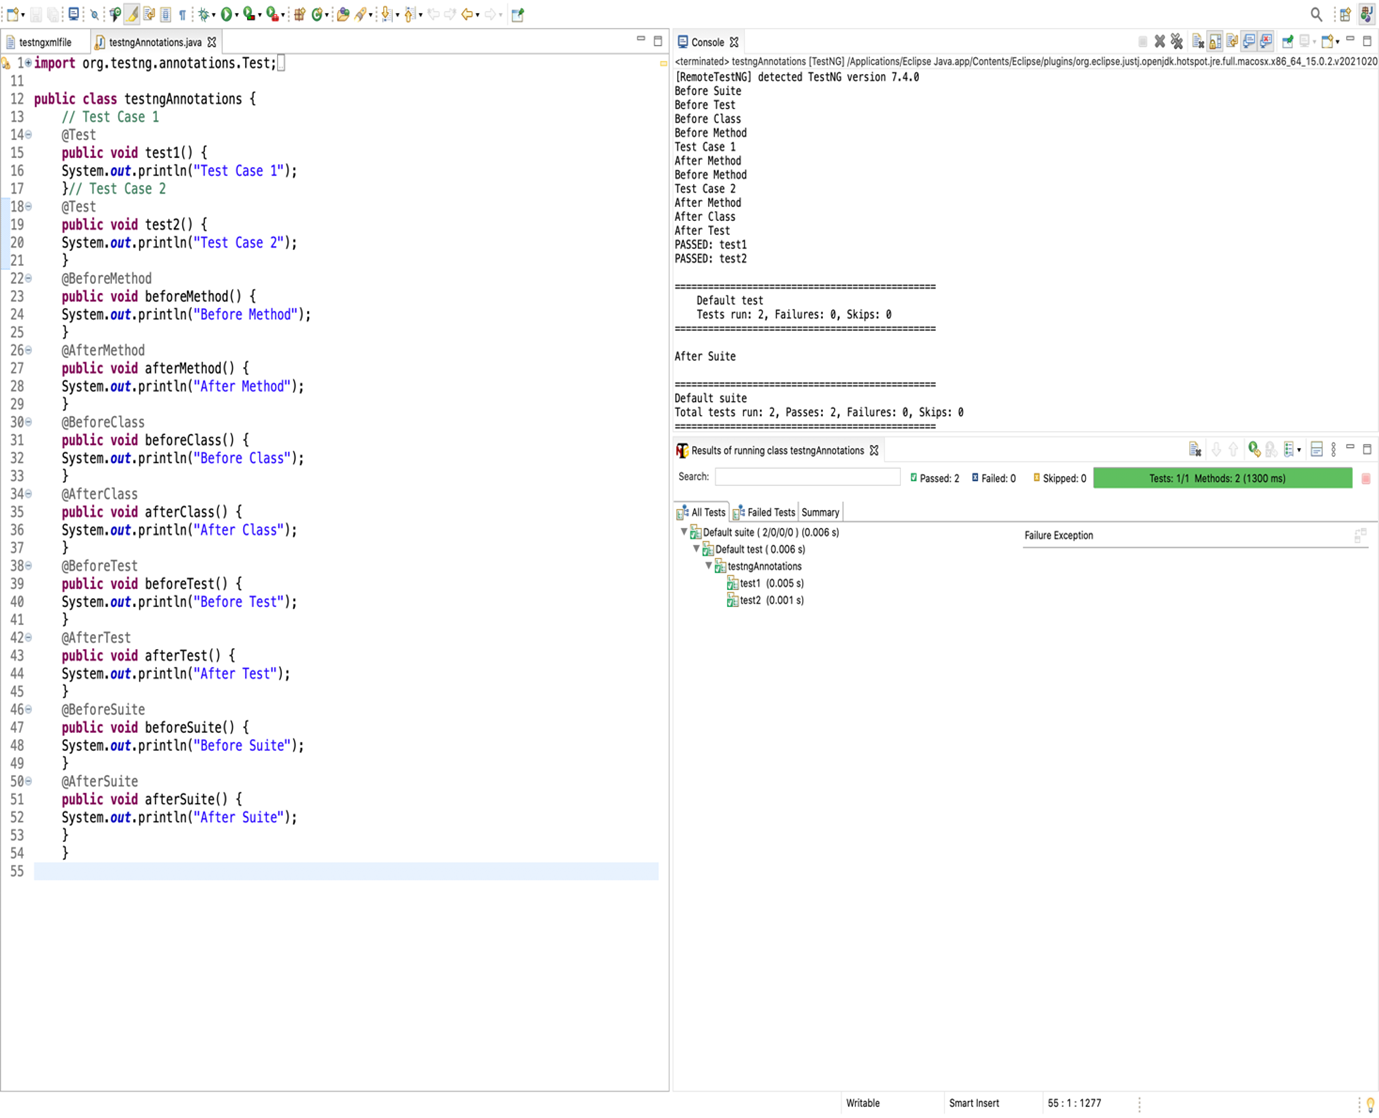
TestNG Annotations & its Implementations:

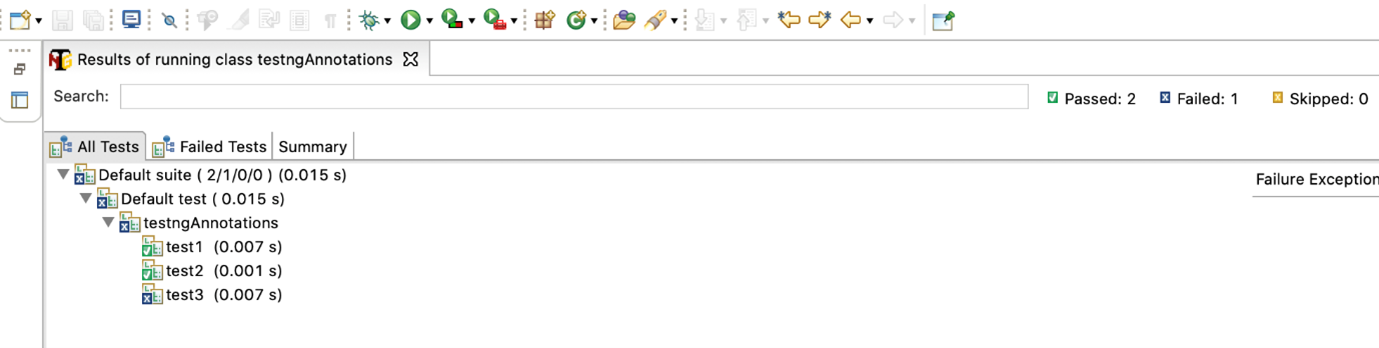
Output:
Before Suite
Before Test
Before Class
Before Method
Test Case 1
After Method
Before Method
Test Case 2
After Method
After Class
After Test
PASSED: test1
PASSED: test2
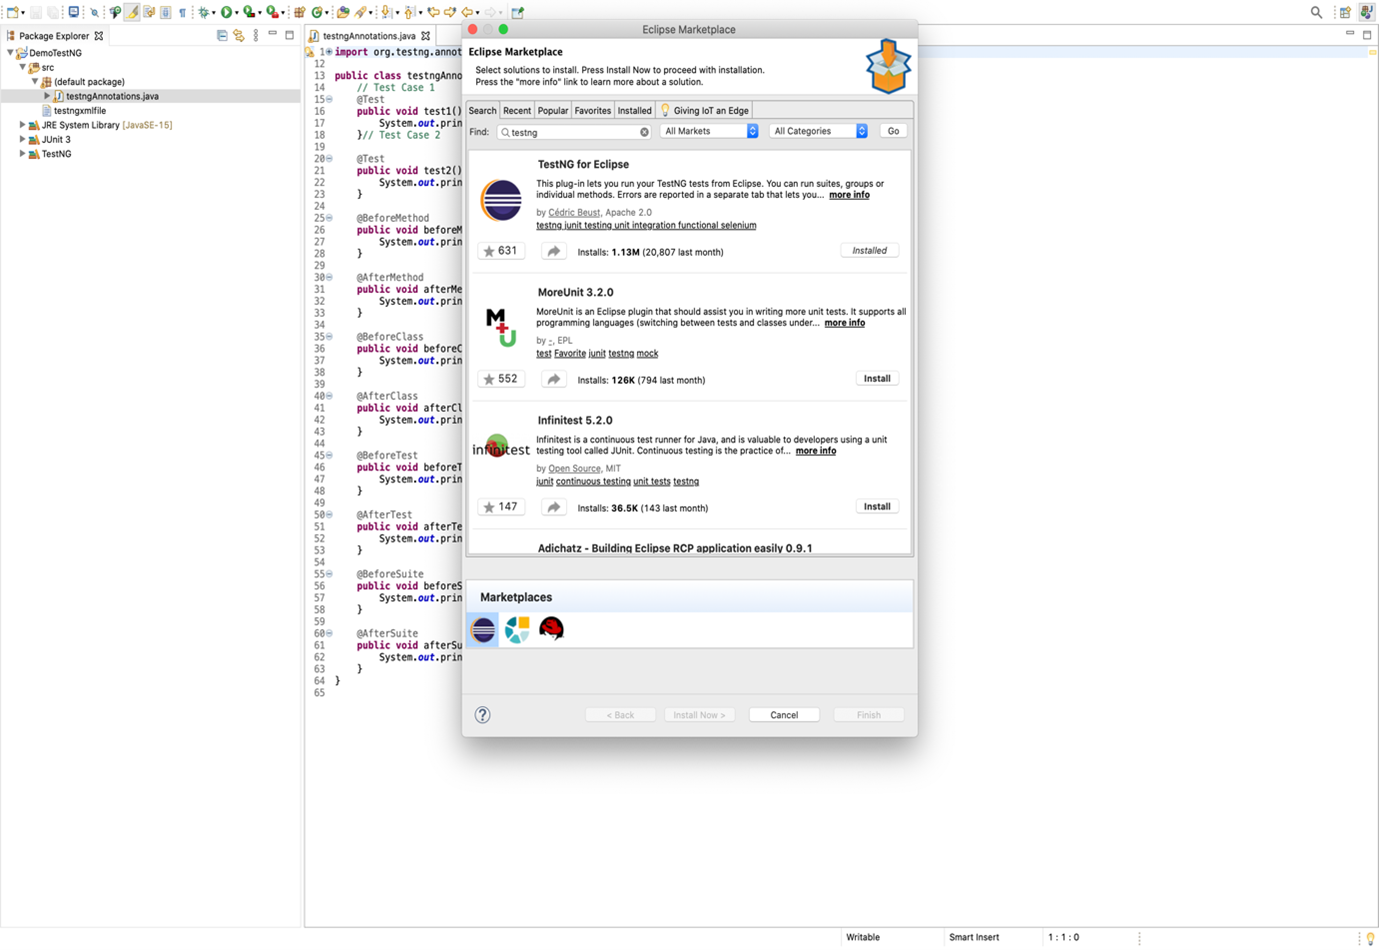
How to implement TestNG in your project:
- Go to the eclipse marketplace.
- Search for TestNG > Install > Restart IDE.
- Create a New Java Project > Go to Build path > Add library > Select TestNG.
- Go to the src file of your project > New > TestNG Class.
- Write your code.
- Run as TestNG.
- Now right-click on the Project > hover over TestNG > Convert to TestNG.
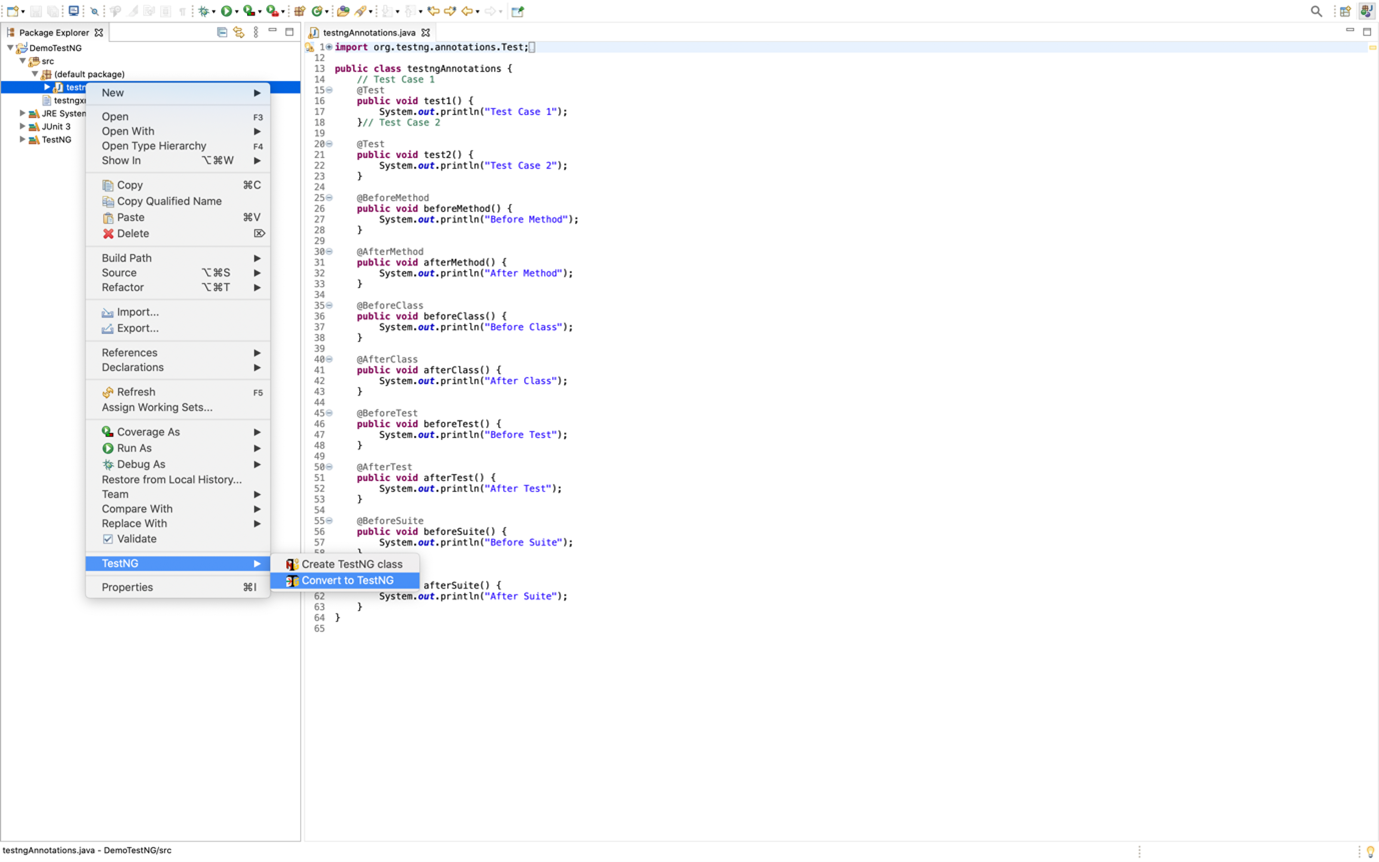
- Now refresh your project view > Check the testng.xml file created.
You can add as many test cases as you want to add - all will be added in your testng.xml. Furthermore, you can add annotations to it as per your requirements. After running, it successfully, you will be able to generate a report that can be emailed.
Conclusion:
Based on your project requirement, you may prefer to use some framework features over others. Here in TestNG, we get many popular and easy-to-use features, some of which have been inherited from JUnit. Moreover, since it's open source, many developers find it easy, accessible, and more usable. Contact Jade’s Experts for software testing for your business.
Subscribe to our Technology Insights


About the Author

How Can We Help You?
Related Posts